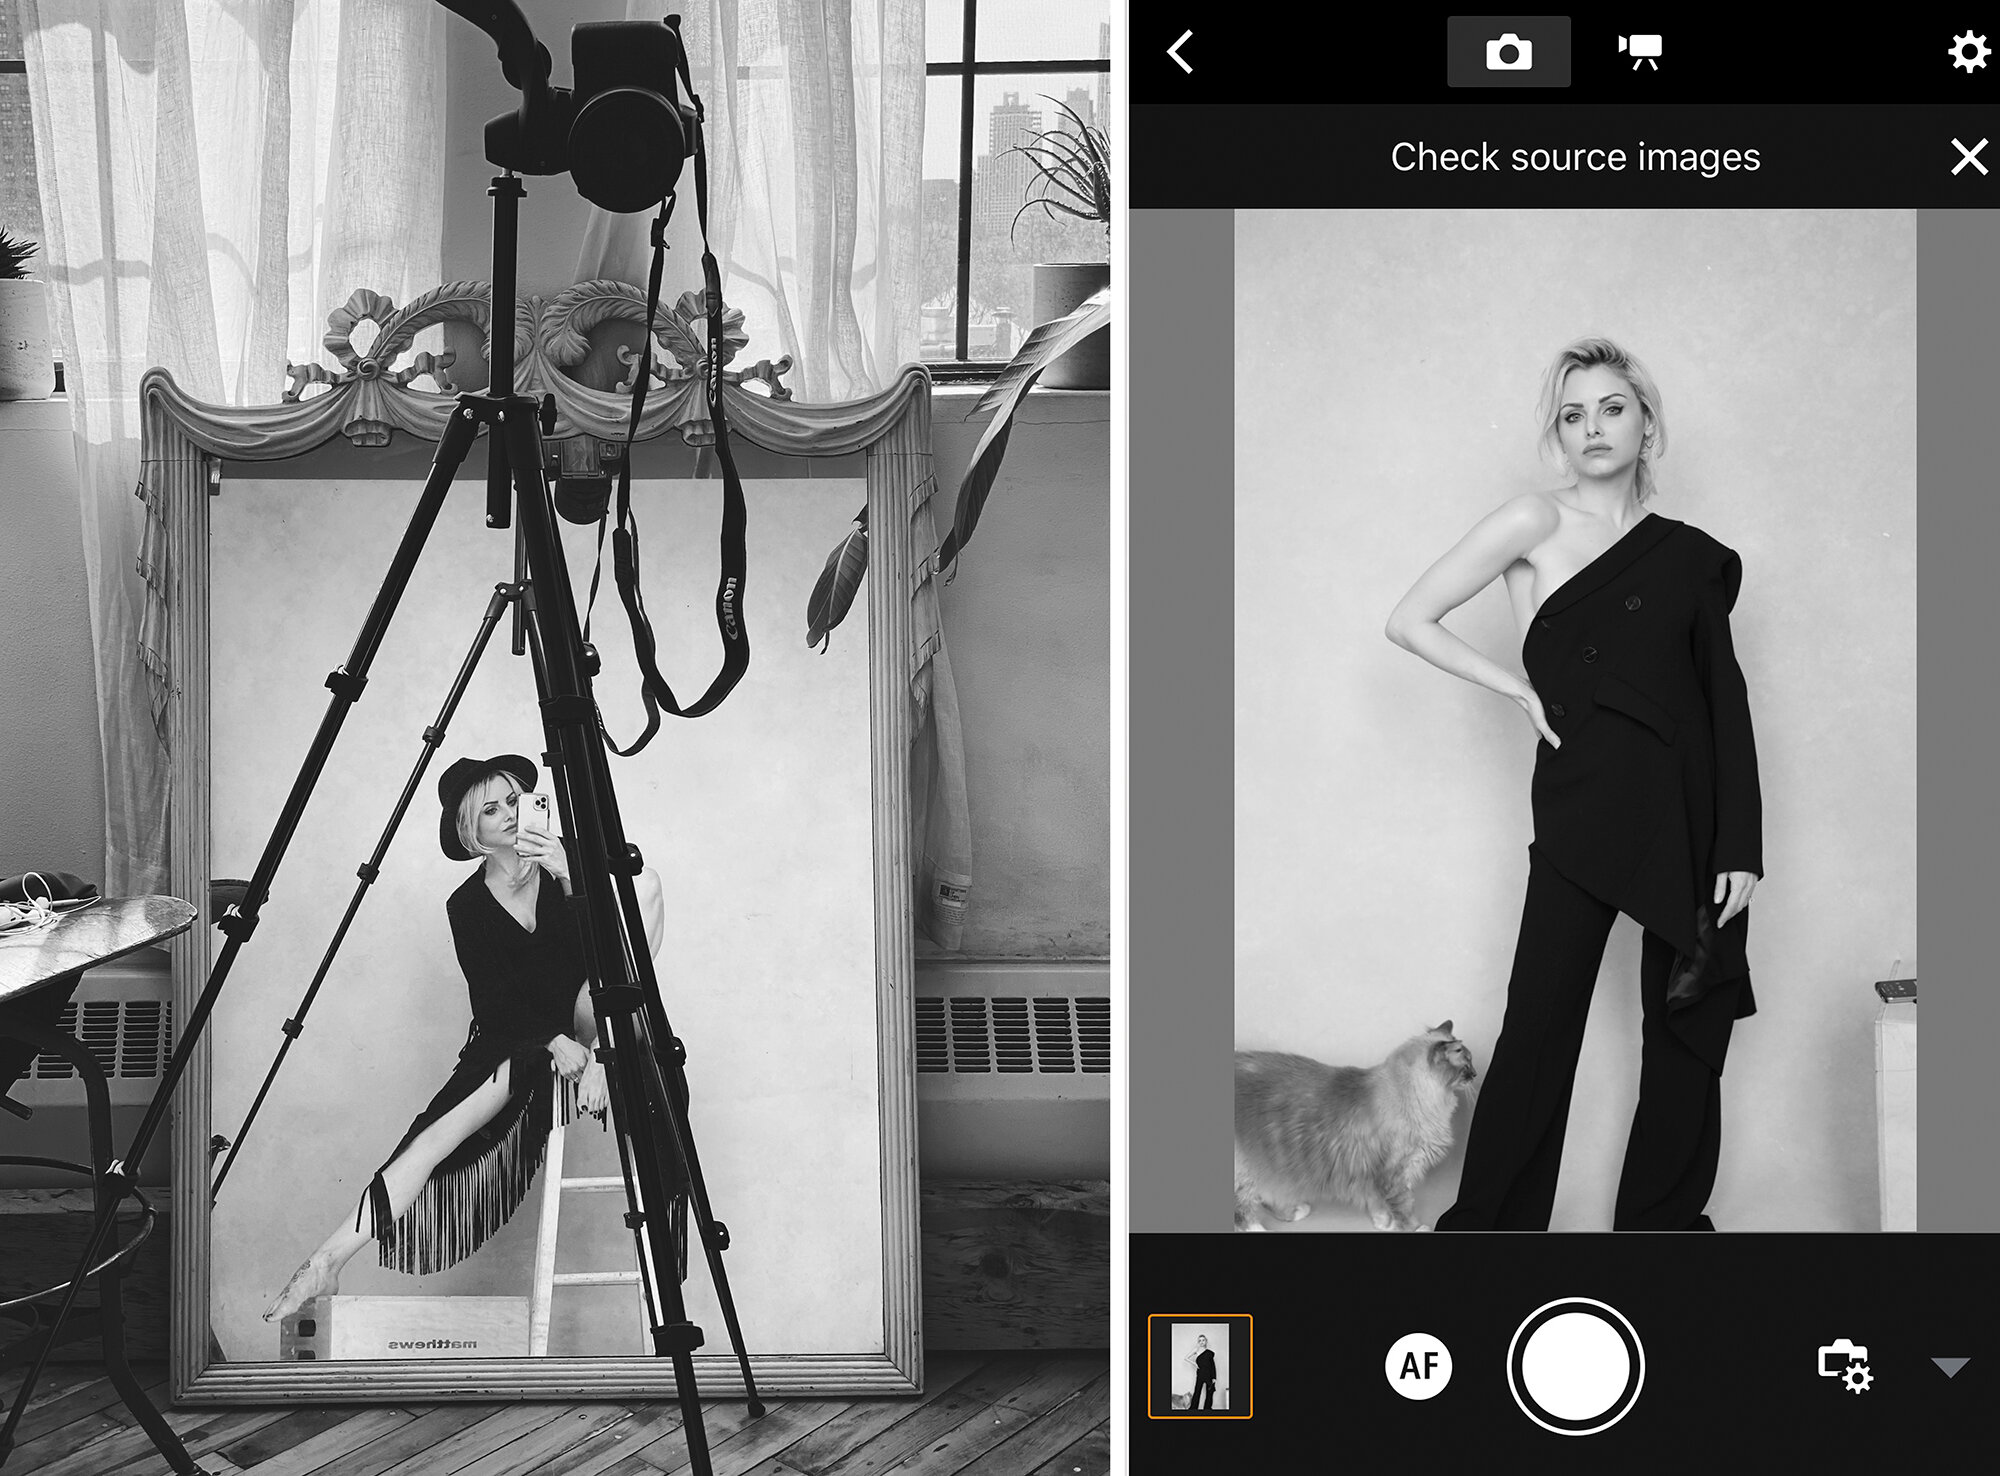
Welcome back to my blog! It's been a while, but I'm excited to revive this space and share some fresh resources with you all. Today, I'm diving into the world of beauty and fashion posing, drawing on my 16+ years of experience behind the camera. Posing might feel second nature to me now, but getting here involved plenty of practice, observation, and yes—a lot of errors! In this post, I'll share key lessons that have shaped how I direct models. (Scroll down to find the FREE posing resource!).
BUILDING CONFIDENCE THROUGH PRACTICE
Let's dive into a personal journey—I began my photography with self-portraits at fourteen and faced considerable challenges with posing. It took months before I could even ask friends and family to pose, as I grappled with high levels of anxiety and self-doubt. What shifted? Experience. The more I shot, the more natural posing felt to me. Every session, each new model, and all the challenges along the way underscored how crucial posing is to the success of a photo.
Mastering posing doesn't happen overnight; it doesn't even feel easier within a week of learning. The key is to start with the basics, immerse yourself in research, and continuously practice and refine your technique. With each shoot, you'll grow more comfortable. Understanding the fundamentals of posing and gaining a solid grasp of the beauty and fashion industry will propel you forward significantly. So, keep shooting, keep learning, and watch your confidence soar.

Model: Drew @ MUSE (content from The Beauty Posing Guide).
CREATING A COMFORTABLE ENVIRONMENT
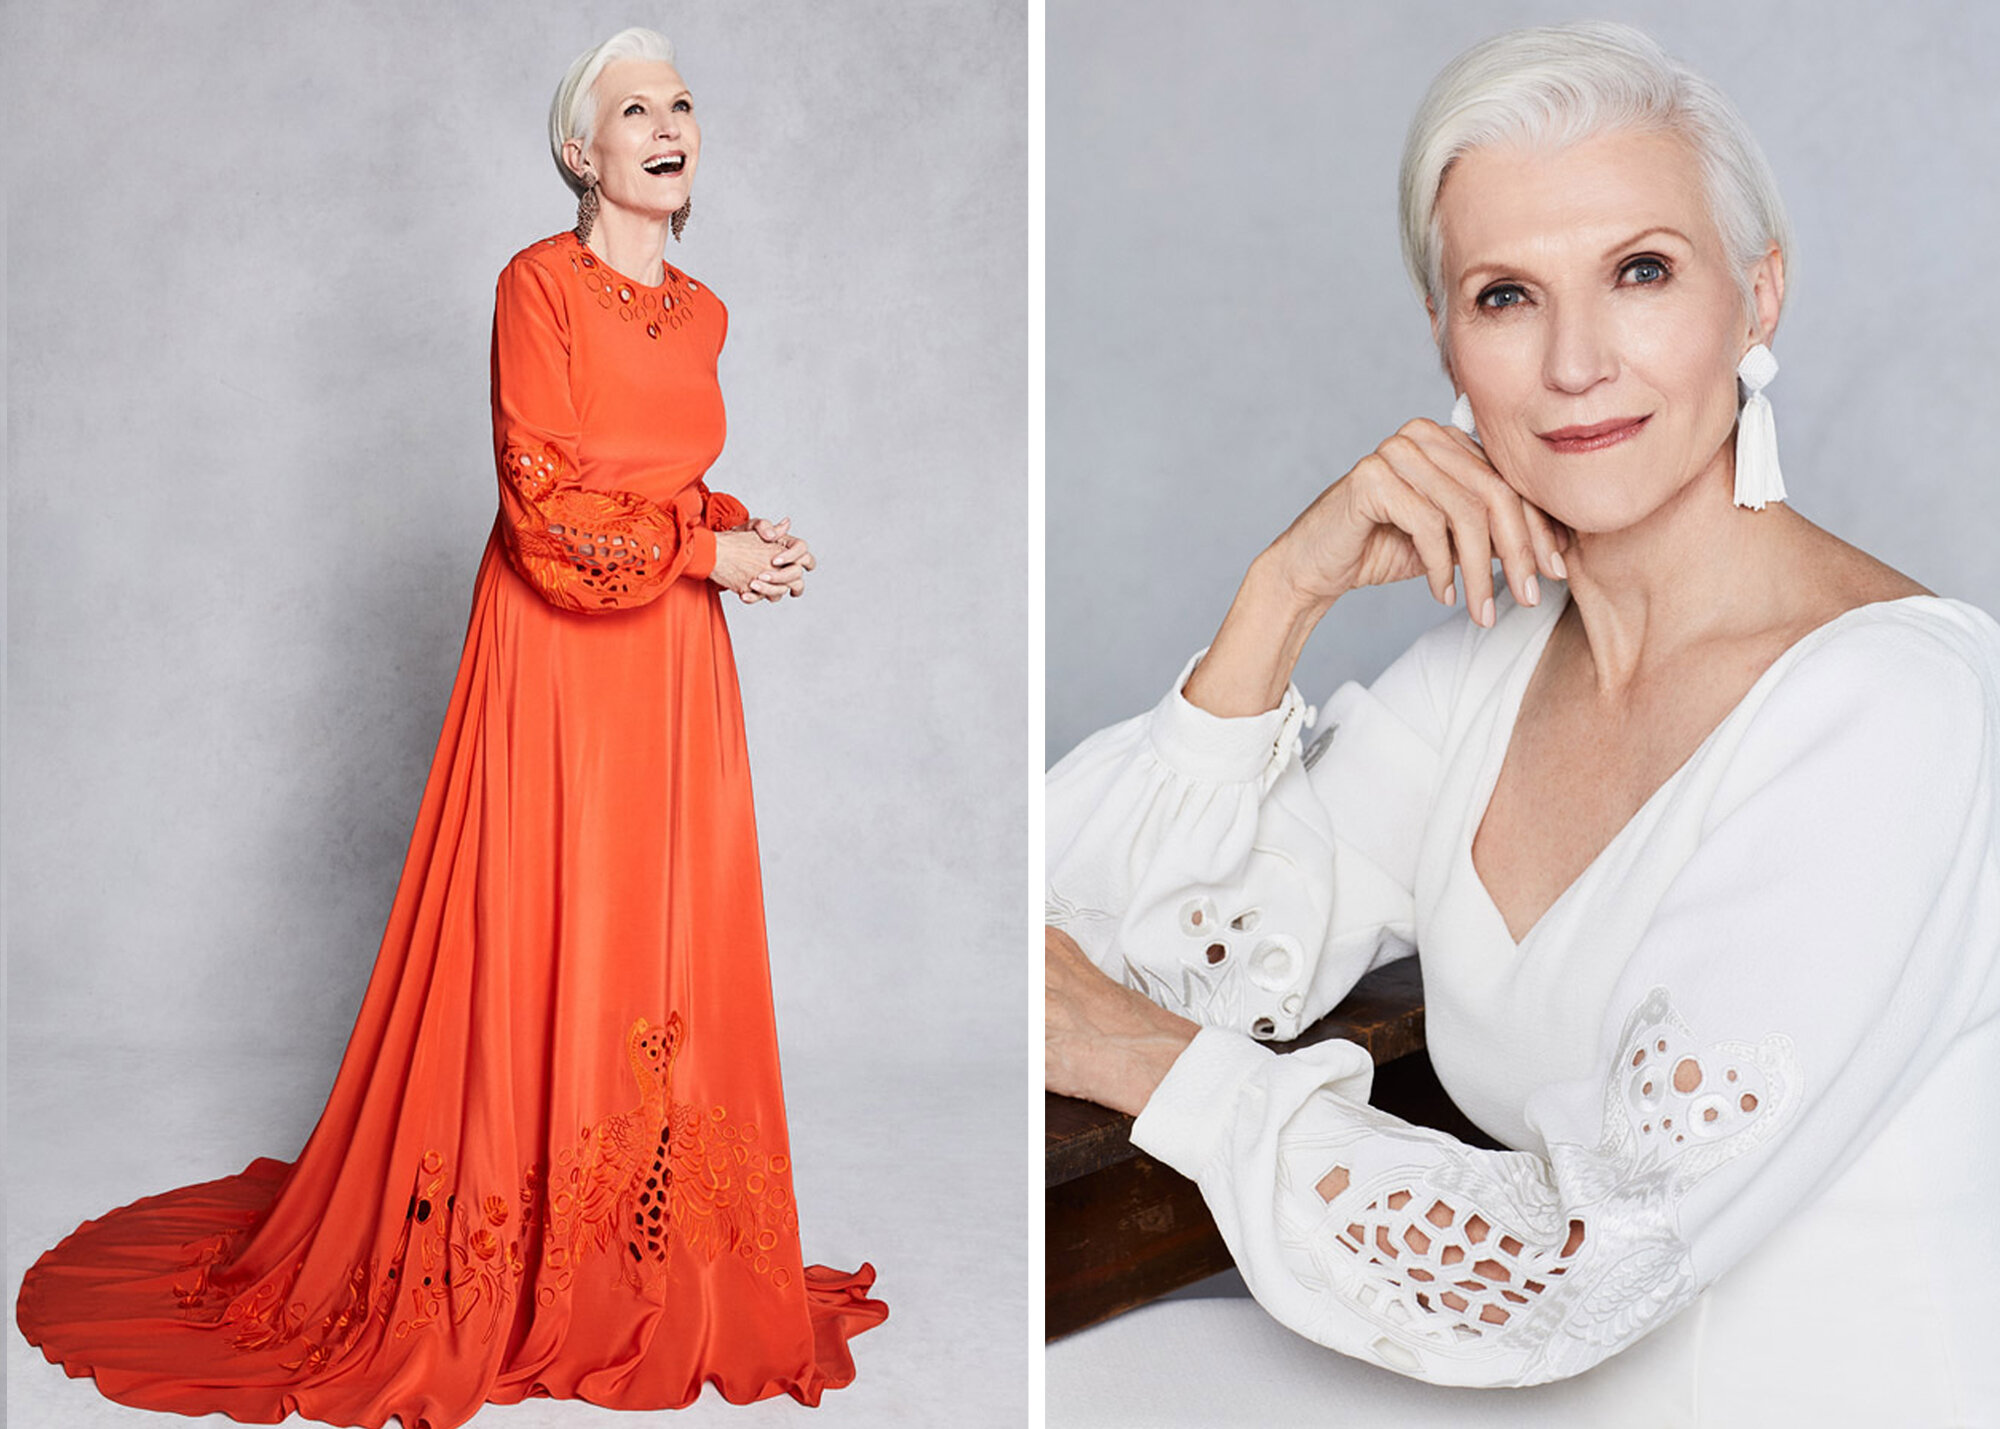
Creating a comfortable environment on set is essential for a successful shoot. When models feel relaxed, they are more likely to open up and deliver their best performances. Simple gestures like playing music they enjoy, offering refreshments, and providing a warm welcome can significantly enhance their comfort level. For projects like test shoots or editorial shoots where there isn't a client dictating the concept, consider allowing the models to have some input. This not only boosts their comfort but also encourages a sense of ownership and engagement with the shoot, leading to more dynamic and authentic expressions.

Model: Ines @ MUSE (content from The Beauty Posing Guide)
GUIDING YOUR SUBJECT
Many photographers mistakenly stay behind the camera, hiding behind it and expecting models to know how to pose. However, many models, especially those with less experience, look to the photographer for guidance. Using well-curated mood boards and having a clear understanding of your shoot concept are invaluable. Guide, compliment, collaborate. Remember, posing is a collaborative effort!

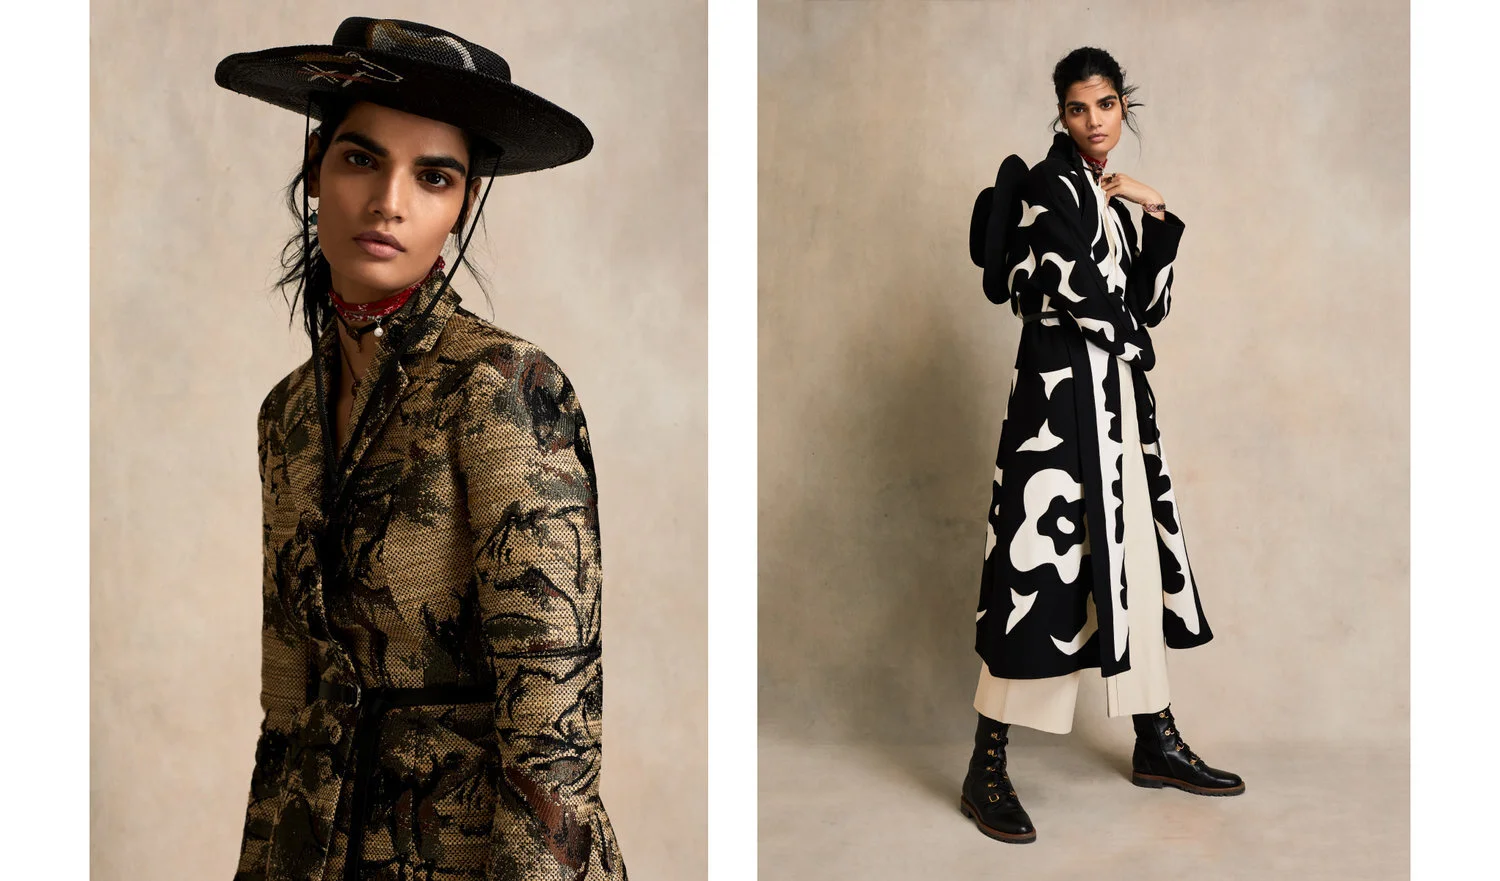
Model: Anyon @ MUSE (content from The Fashion Posing Guide)
STAY CURRENT WITH INDUSTRY TRENDS
I emphasize this point frequently in my workshops and online courses, but it bears repeating: Keeping one finger on the pulse of the industry is crucial, especially when it comes to posing. This phrase means staying informed about the latest developments in the fashion industry, including current trends in both fashion and posing. Understanding these trends is essential because just like fashion, posing evolves and reflects the zeitgeist of the industry. Being well-versed in these changes not only enhances your relevance but also enriches your creative approach to photography.

Models: Zuoye & Anyon @ MUSE (content from The Beauty Posing Guide)
OWNING YOUR STYLE
Avoid being confined by strict, outdated "posing rules." While I occasionally utilize techniques like the Rule of Thirds for beauty crops or triangular compositions for fashion shoots, I prefer not to be bound by these guidelines as they can limit creativity. It’s important to understand when to apply these rules and when it’s beneficial to think outside the box. Push your boundaries by working with models of varying experiences and diverse creative teams. This approach will allow your unique style to evolve naturally, enhancing your skills and broadening your creative horizons. Embracing flexibility in your methods not only improves your craft but also opens up new avenues for artistic expression.
THE FASHION & BEAUTY POSING GUIDES
Interested in deeper insights? Check out my popular resources, ‘The Fashion Posing Guide’ and ‘The Beauty Posing Guide.’
After years of in-person workshops, I saw the need for up-to-date, relevant guides. These are designed to offer a contemporary approach created by a photographer who is actively working within the fashion & beauty industry!
Whether you're a seasoned photographer or just starting, understanding the nuances of posing can significantly improve your work. The key to mastering posing lies in patience, practice, and a constant eagerness to learn from every shoot. Here's to more dynamic and confident poses in your future projects! Happy shooting!
Check out all of my guides, including The Light Guide & Editorial Guide! https://www.larajadeeducation.com/pdf-guides

FREE DOWNLOADABLE RESOURCE
I've compiled my top tips for beauty and fashion posing into a downloadable resource, just for you! These tips, born from extensive hands-on experience, provide a solid foundation for your posing techniques. Enjoy reading!